A build scan acts as a scanner for our Gradle projects. It is a shareable and centralized data of a build that provides insight incidents and details of a Gradle project. We can publish and access the scans on the Gradle remote server.
Creating Build Scans
Below are the primary steps to create a build scan:
Step1: Create a Gradle project
Creating a Gradle project is a first step to create a build scan. We can create a Gradle project by using gradle init command or any other way.
To create a directory, use the below command:
To create a Gradle project, use the below command:
We can also use an existing project or clone a project from GitHub.
Step2: Apply the build scan plugin
From Gradle 4.3, we can enable build scans without adding any additional configuration. When the -scan option is used to publish a scan, the required build scan plugin is applied automatically.
Now, it will ask for the Gradle terms of service as command-line option select yes or no and press Enter key. Execute the below command to publish the build scan:
The above command will create a build scan. Consider the below snap of output:

Now, we have successfully published the Gradle project. From the above output, the green link is used to access the build scan.
Access the Build Scan online
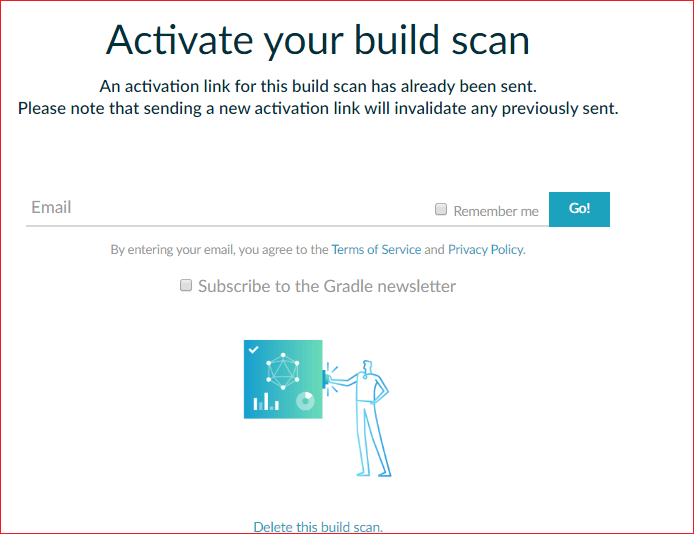
To access the build scan online, follow the generated link and it will ask to activate the build scan. Enter the email id and click on the Go option. Consider the below image:

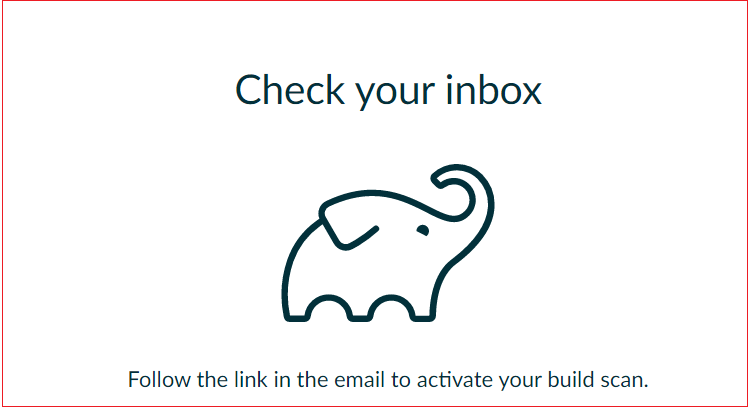
It will send a link to our email id for activating the build scan, follow that link. We can also delete the scans from the given option Delete this build scan, in the above screenshot.

Click on the Discover your build option to explore the created build.

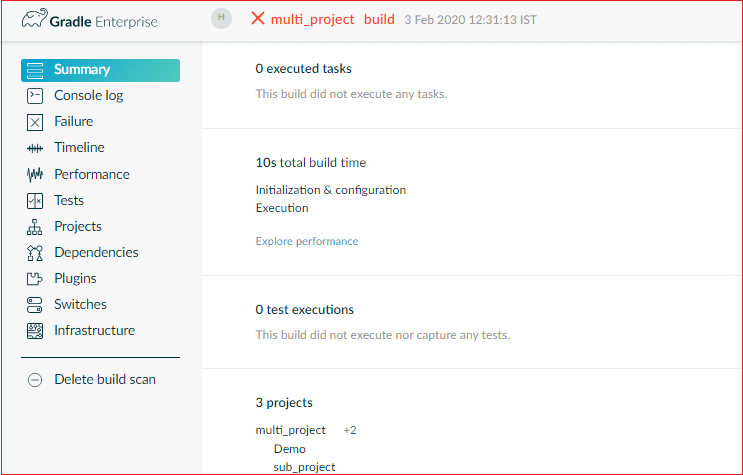
It will open our created build. It will look like the below image:

We can explore all the information about created build scan. It includes console log, failure points, timeline, performance, tests, projects, dependencies, plugins, switches, and infrastructures. It also contains the execution time, the required time at each stage, and the result of any test.
No comments:
Post a Comment