In Spring MVC, the model works a container that contains the data of the application. Here, a data can be in any form such as objects, strings, information from the database, etc.
It is required to place the Model interface in the controller part of the application. The object of HttpServletRequest reads the information provided by the user and pass it to the Model interface. Now, a view page easily accesses the data from the model part.
Methods of Model Interface
| Method | Description |
|---|
| Model addAllAttributes(Collection<?> arg) | It adds all the attributes in the provided Collection into this Map. |
| Model addAllAttributes(Map<String,?> arg) | It adds all the attributes in the provided Map into this Map. |
| Model addAllAttribute(Object arg) | It adds the provided attribute to this Map using a generated name. |
| Model addAllAttribute(String arg0, Object arg1) | It binds the attribute with the provided name. |
| Map<String, Object> asMap() | It return the current set of model attributes as a Map. |
| Model mergeAttributes(Map< String,?> arg) | It adds all attributes in the provided Map into this Map, with existing objects of the same name taking precedence. |
| boolean containsAttribute(String arg) | It indicates whether this model contains an attribute of the given name |
Spring MVC Model Example
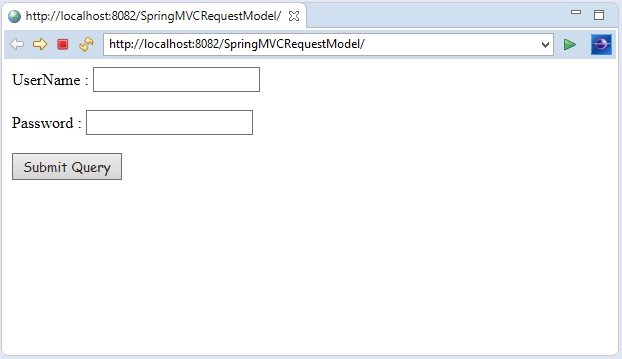
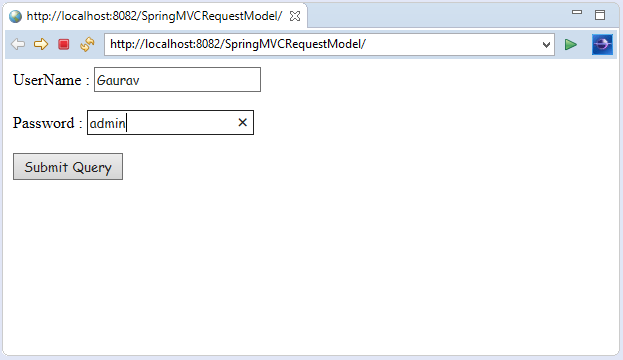
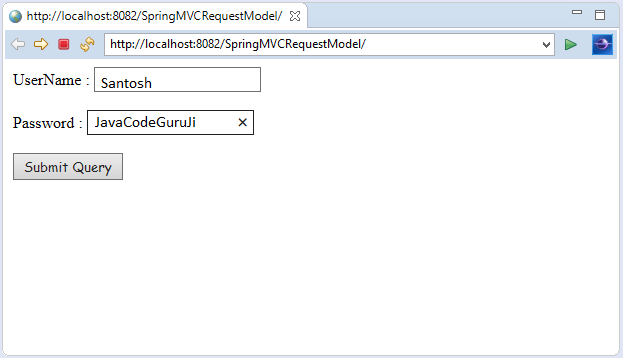
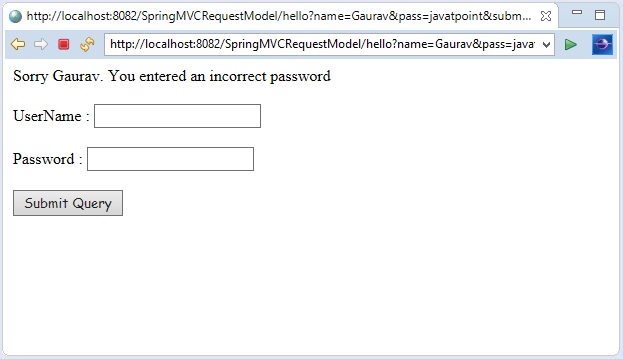
Let's create a login page that contains a username and password. Here, we validate the password with a specific value.
1. Add dependencies to pom.xml
-
- <dependency>
- <groupId>org.springframework</groupId>
- <artifactId>spring-webmvc</artifactId>
- <version>5.1.1.RELEASE</version>
- </dependency>
-
-
- <dependency>
- <groupId>javax.servlet</groupId>
- <artifactId>servlet-api</artifactId>
- <version>3.0-alpha-1</version>
- </dependency>
2. Create the request page
Here, we create the login page to receive name and password from the user.
index.jsp
- <html>
- <body>
- <form action="hello">
- UserName : <input type="text" name="name"/> <br><br>
- Password : <input type="text" name="pass"/> <br><br>
- <input type="submit" name="submit">
- </form>
- </body>
- </html>
3. Create the controller class
In controller class:
- The HttpServletRequest is used to read the HTML form data provided by the user.
- The Model contains the request data and provides it to view page.
HelloController.java
- package com.javatpoint;
- import javax.servlet.http.HttpServletRequest;
- import org.springframework.stereotype.Controller;
- import org.springframework.ui.Model;
- import org.springframework.web.bind.annotation.RequestMapping;
-
- @Controller
- public class HelloController {
-
- @RequestMapping("/hello")
- public String display(HttpServletRequest req,Model m)
- {
-
- String name=req.getParameter("name");
- String pass=req.getParameter("pass");
- if(pass.equals("admin"))
- {
- String msg="Hello "+ name;
-
- m.addAttribute("message", msg);
- return "viewpage";
- }
- else
- {
- String msg="Sorry "+ name+". You entered an incorrect password";
- m.addAttribute("message", msg);
- return "errorpage";
- }
- }
- }
4. Provide the entry of controller in the web.xml file
web.xml
- <?xml version="1.0" encoding="UTF-8"?>
- <web-app xmlns:xsi="http://www.w3.org/2001/XMLSchema-instance" xmlns="http://java.sun.com/xml/ns/javaee" xsi:schemaLocation="http://java.sun.com/xml/ns/javaee http://java.sun.com/xml/ns/javaee/web-app_3_0.xsd" id="WebApp_ID" version="3.0">
- <display-name>SpringMVC</display-name>
- <servlet>
- <servlet-name>spring</servlet-name>
- <servlet-class>org.springframework.web.servlet.DispatcherServlet</servlet-class>
- <load-on-startup>1</load-on-startup>
- </servlet>
- <servlet-mapping>
- <servlet-name>spring</servlet-name>
- <url-pattern>/</url-pattern>
- </servlet-mapping>
- </web-app>
5. Define the bean in the xml file
spring-servlet.xml
- <?xml version="1.0" encoding="UTF-8"?>
- <beans xmlns="http://www.springframework.org/schema/beans"
- xmlns:xsi="http://www.w3.org/2001/XMLSchema-instance"
- xmlns:context="http://www.springframework.org/schema/context"
- xmlns:mvc="http://www.springframework.org/schema/mvc"
- xsi:schemaLocation="
- http://www.springframework.org/schema/beans
- http://www.springframework.org/schema/beans/spring-beans.xsd
- http://www.springframework.org/schema/context
- http://www.springframework.org/schema/context/spring-context.xsd
- http://www.springframework.org/schema/mvc
- http://www.springframework.org/schema/mvc/spring-mvc.xsd">
-
-
- <context:component-scan base-package="com.javatpoint" />
-
-
- <mvc:annotation-driven/>
- <bean id="viewResolver" class="org.springframework.web.servlet.view.InternalResourceViewResolver">
- <property name="prefix" value="/WEB-INF/jsp/"></property>
- <property name="suffix" value=".jsp"></property>
- </bean>
- </beans>
6. Create the other view components
To run this example, the following view components must be located inside the WEB-INF/jsp directory.
viewpage.jsp
- <html>
- <body>
- ${message}
- </body>
- </html>
errorpage.jsp
- <html>
- <body>
- ${message}
- <br><br>
- <jsp:include page="/index.jsp"></jsp:include>
- </body>
- </html>
Output:


No comments:
Post a Comment